
Gitlab, one of the famous Git repository manager which comes with a web-based DevOps life cycle tool, inbuilt wiki, container registry, issue tracking, continuous integration, and deployment pipeline features.
We can use GitLab as a Saas or else Self-managed installation on our own host with Linux for free.
Let´s see how we can set up CI/CD (Continuous Integration/Deployment) pipeline with GitLab for an Angular frontend application.
Gitlab CI Pipeline Stages
Let us assume the base application comes with Linter integration with EsLint and Unit testings with Karma. So In this pipeline setup, we are going to integrate stages for both Lint and Unit Test as well.
So stages for this pipeline setup will be,
- dependencies — In this stage pipeline will run npm install and cache the node_modules share between other stages in this setup.
- test — Covering unit test and lint for the angular application at this stage.
- build — Build the angular application for production and mark dist/folder content as artifacts for final publishing.
- publish — Building and publishing docker images with Nginx to Gitlab inbuilt docker registry to run this angular application in a docker environment.

Gitlab CI File
Now we can check how we could achieve the above stages on downloaded angular application with gitlab CI.
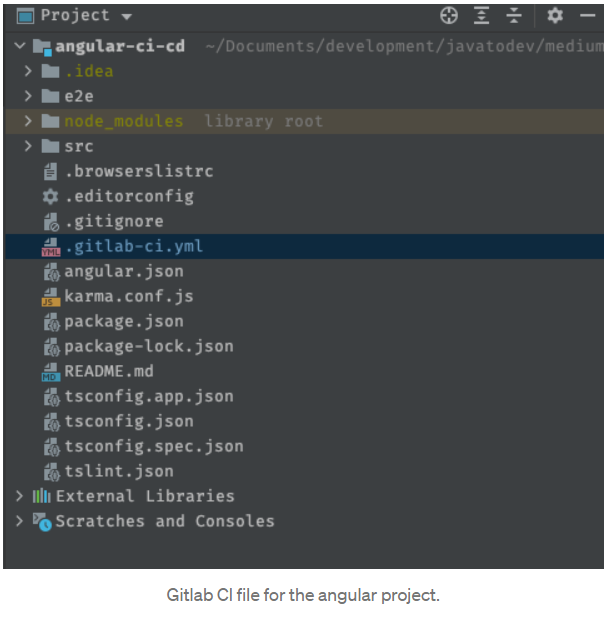
Here in this setup, we need to include a new file on the project root, named .gitlab-ci.yml. This file should include all the instructions on what are the stages and separate instructions to run on those stages while running the pipeline.
Defining Stages
Here we are defining pipeline stages which will be used on pipeline instructions later, Open gitlab-ci.yml and add the following lines,
stages:
  - dependencies
  - test
  - build
  - publish
Dependencies Stage
In this stage, we can run npm install to set up the core application, since we are not committing any changes related to node_modules and it should be dynamically built on the pipeline for every execution.
But Gitlab CI gives us a chance to reuse the node_modules folder using cache and update it upon changes to a given file. Eg:- package.json or package-lock.json
Just add the following line to the .gitlab-ci.yml,
install_dependencies:
  image: node:12-alpine
  stage: dependencies
  script:
    - npm install
  only:
    - master
  cache:
    key:
      files:
        - package-lock.json
    paths:
- node_modules- Image: This stage will run on node:12-alpine docker image and it will be dynamically allocated from gitlab runner machines.
- stage: Here we are defining where we should run this instruction from the defined stage list.
- script: This script will run on a given image using the given package.json file.
- cache: This cache will be triggered upon any changes on package-lock.json (eg:- added or removed any dependency) and cache everything under node_modules to use with other stages.
Lint Stage
This pipeline setup will run linter for the given source code using node and ng modules. We need to link @angular/cli to this stage since we are directly using ng-based commands to run lint.
In addition to that in this stage, we can use the cache we created on the dependencies stage since we need to have node_modules included in the setup to run lint. So using cache we could pull the cache created in the early stage.
Add the following step into the gitlab-ci.yml,
lint:
  image: node:12-alpine
  stage: test
  script:
    - npm link @angular/cli@11.2.6
    - ng lint
  cache:
    key:
      files:
        - package-lock.json
    paths:
      - node_modules
policy: pull- policy: This will pull cache created with node_modules on early stage.
Test Stage
We are going to run unit testing for this angular source code at this stage. Additionally, this unit test instructions will be running parallel to the lint instructions. Hence we should use the same stage which we have used for lint.
Here I’m using markhobson/node-chrome docker image which allows us to do automated UI tests.
You are free to use alternatives like selenium if you need to do UI automation tests using various browsers.
Add the following step into the gitlab-ci.yml,
test:
  image: markhobson/node-chrome:latest
  stage: test
  script:
    - npm link @angular/cli@11.2.6
    - npm test -- --browsers=ChromeHeadless --watch=false
  cache:
    key:
      files:
        - package-lock.json
    paths:
      - node_modules
    policy: pull
In this stage, there are few things we need to set up to run this test stage on the gitlab pipeline. Let’s check those things from here before proceeding with other pending stuff.
Angular unit tests with jasmine will use the Chrome browser for automated UI tests by default. But if we are running any tests on a CI environment like gitlab-ci, there is no graphical user interface available to run a browser in it. Hence we need to set up ChromeHeadless in the browsers in karma.conf.js in app root.
Add or change browsers list like below to add ChromeHeadless,
browsers: ['Chrome', 'ChromeHeadless'],— watch=false will ensure that not open any automated browser window to run testings in this phase. and — browsers=ChromeHeadless will choose only ChromeHeadless from the browser list we defined in karma.conf.js.
Build Stage
This stage will build the given angular source code for the production and mark the dist folder to capture from the next stage where we create docker images.
Copy following into the gitlab-ci.yml,
build_image:
  image: node:12-alpine
  stage: build
  script:
    - npm link @angular/cli@11.2.6
    - npm run build
  artifacts:
    paths:
      - $CI_PROJECT_DIR/dist
  cache:
    key:
      files:
        - package-lock.json
    paths:
      - node_modules
policy: pull- artifact: This will be gather everything under the dist folder and mark it as artifacts for the project. Additionally, gitlab allows users to download any artifact built inside the gitlab pipeline if there is any requirement.

In addition to that, we can directly use this build dist folder content to set up the docker image in the final stage.
Publish Stage
Now we have all the artifacts for the current code base of the angular application. Hence we can proceed with building the latest docker image for the application.
In this setup this application will finally run using the Nginx layer, Hence we should set up NGINX using Dockerfile to copy content on the dist folder to the Nginx root path.
Just create the Dockerfile which has instructions to set up docker image in the application root.
FROM nginx:1.17.1-alpine
COPY dist/angular-keycloak-app /usr/share/nginx/html
EXPOSE 80
The pipeline will identify this dist/angular-keycloak-app content using the artifacts we created on the build stage
Next, Just add the following content to the .gitlab-ci.yml,
push-docker-registry:
  image: docker:latest
  stage: publish
  only:
    - master
  script:
    - docker build -t registry.gitlab.com/<gitlab_username>/angular-ci-cd .
    - docker login -u <gitlab_username> -p $CI_BUILD_TOKEN registry.gitlab.com
    - docker push registry.gitlab.com/<gitlab_username>/angular-ci-cd
Change this gitlab_username with your gitlab username.
Here we should create $CI_BUILD_TOKEN to use with docker login. You can generate a new token or use any available token which has the following scopes.
- read_registry — Grants read-only access to container registry images on private projects.
- write_registry — Grants write access to container registry images on private projects.
You can generate a new token using this URL https://gitlab.com/-/profile/personal_access_tokens.

Then navigate to project -> Settings -> CI/CD
and expand Variables, Then create a new variable with Key -: CI_BUILD_TOKEN value:- a newly generated token from personal access token window.

In addition to that add the following service to the gitlab-ci file, This docker:dind service will start docker daemon as this pipeline entry point.
services:
  - docker:dind
So our completed gitlab-ci.yml should look like below,
services:
  - docker:dind

stages:
  - dependencies
  - test
  - build
  - publish

install_dependencies:
  image: node:12-alpine
  stage: dependencies
  script:
    - npm install
  only:
    - master
  cache:
    key:
      files:
        - package-lock.json
    paths:
      - node_modules

lint:
  image: node:12-alpine
  stage: test
  script:
    - npm link @angular/cli@11.2.6
    - ng lint
  cache:
    key:
      files:
        - package-lock.json
    paths:
      - node_modules
    policy: pull
test:
  image: markhobson/node-chrome:latest
  stage: test
  script:
    - npm link @angular/cli@11.2.6
    - npm test -- --browsers=ChromeHeadless --watch=false
  cache:
    key:
      files:
        - package-lock.json
    paths:
      - node_modules
    policy: pull

build_image:
  image: node:12-alpine
  stage: build
  script:
    - npm link @angular/cli@11.2.6
    - npm run build
  artifacts:
    paths:
      - $CI_PROJECT_DIR/dist
  cache:
    key:
      files:
        - package-lock.json
    paths:
      - node_modules
    policy: pull


push-docker-registry:
  image: docker:latest
  stage: publish
  only:
    - master
  script:
    - docker build -t registry.gitlab.com/aurelien116/angular-ci-cd .
    - docker login -u aurelien116 -p $CI_BUILD_TOKEN registry.gitlab.com
    - docker push registry.gitlab.com/aurelien116/angular-ci-cd
All done, Whole Gitlab based continuous integration for angular application setup is done. Just push your code and check CI/CD -> Pipelines and see how the pipeline running on each stage.
Reference:
https://medium.com/geekculture